Assembly instructions: wall cushion to hang
Hang wall pillow on the wall with screw fixing plus eyelets or the hidden wall mounting.
Mounting Instructions step by step, with print file for download.
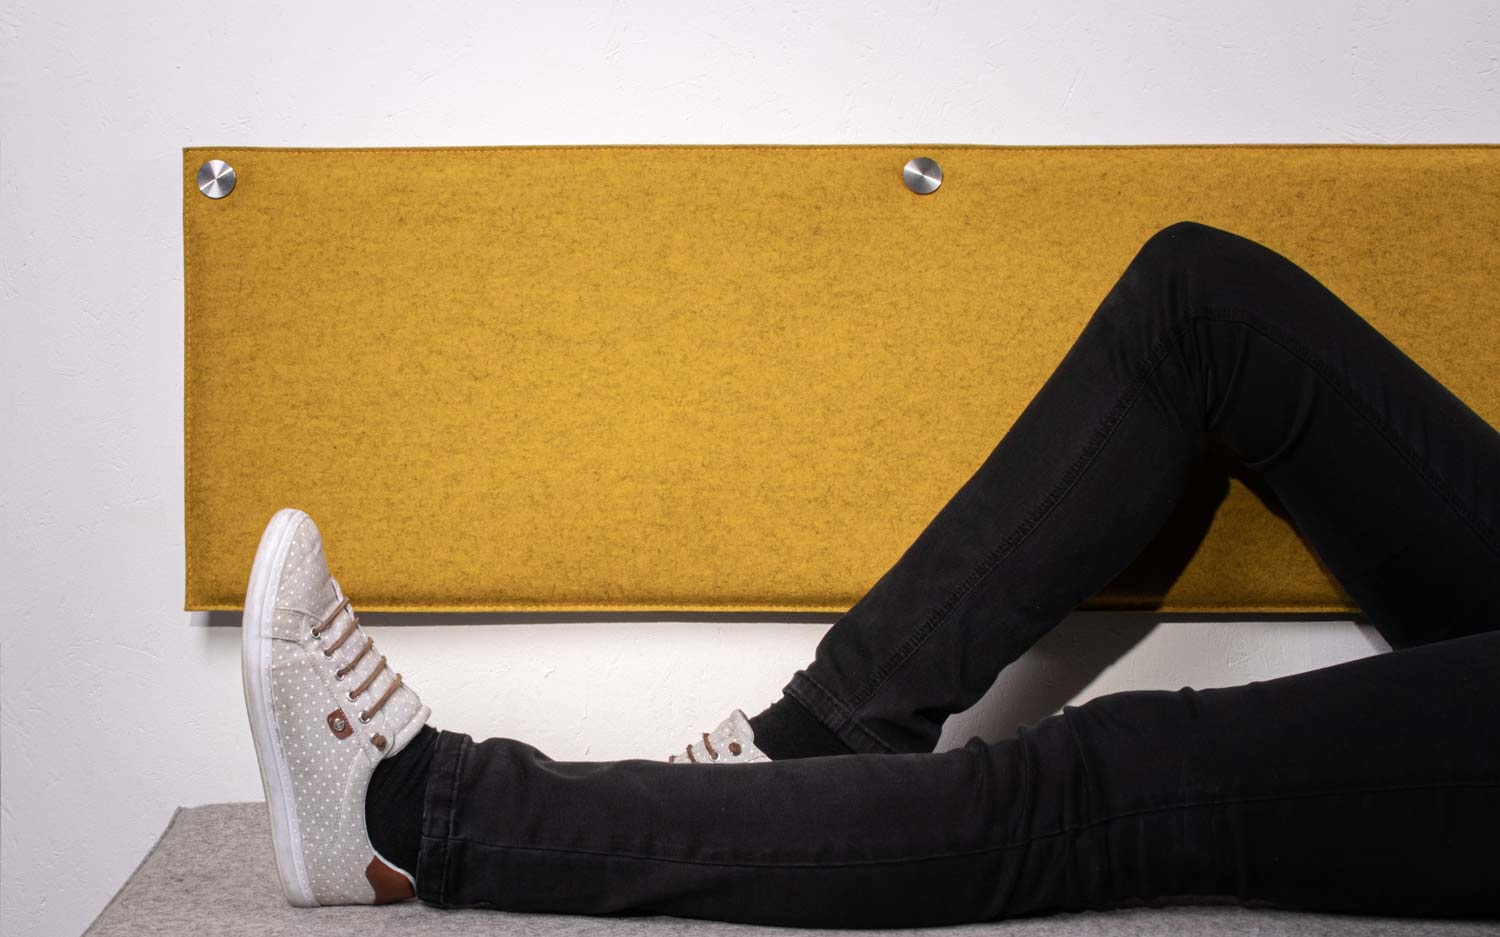
The time has come - the beautiful, new wall pillow made of real wool felt arrived! Now it just has to get on the wall somehow. Since the much-cited "air hooks" still have not been invented, the wall mounting is done in the conventional way with screws and dowels. To make it easier for you to attach it, we have prepared an installation guide to help you to mark and mount it.
In the PDF print version, you can also fill in your dimensions right away.
You will need:
Metre rule, pencil, spirit level, cordless screwdriver or power drill and 6 mm drill bit, vacuum cleaner, small hammer, slim bit holder, bit for Torx T(20)
Measuring
1. Measure the distances from the edge of the cushion (a + b) to the screw position (attachment point). Note these down.

2. Measure the distances (c) from attachment to attachment. Measure this at all fastening points, they may be slightly different. Note these down.
3. Determine the upper edge of your pillow. Subtract b from this measurement. This gives the total height to be marked (ha) from the floor or bench.
4. Define edge A, where exactly your cushion should hang. Transfer this edge from the bench to the wall on one side by means of a spirit level.
5. Now measure the distance a and mark the point for the first attachment to the wall. Also draw the height for this point.

6. For the cushions, measure the length la. (distance between the two outer fasteners) Always first draw these two corner points, then from them the inner distances (c) for further fastening points. In any case, measure all distances c, they can be slightly different.
Drilling
7. Be careful not to damage any cables and pipes.
Drill the holes for the fixings exactly in the places marked.
For the supplied dowel you need a 6 mm drill bit. The dowel is suitable for stone walls or cavity walls.
For wooden walls, you can screw directly into the wood. If necessary, you should use shorter screws and pre-drill with a Ø 3 mm drill to prevent the wood from cracking.
8. Carefully drive in the dowel flush with the hammer.
Attachment

Attach wall cushion with concealed Mount wall bracket
9. Screw the screws into the dowels using the cordless screwdriver and allow them to protrude by approx. 7 mm.
10. Place the U-bracket over the screws and press down well until the cushion is firmly seated. The screw should „clamp“ the cushion to the wall.

Attach wall cushion with screw fixing
9. Screw the cover screw from the spacer (left-hand thread!). Insert the screw into the spacer and screw it into the dowel.
10. Place the eyelets of the cushion over the spacer and screw on the cover screw, tighten firmly.